Instagram is more than just a photo-sharing platform; it’s a space where communities form, businesses grow, and people connect. With its growing popularity, many users find themselves inundated with following requests, especially if their profiles are set to private. Knowing how to manage these requests efficiently is crucial. This comprehensive guide will lead you through the process using both the Instagram app and its website.

Using the Instagram App Method
The Instagram app is designed to bring the entire world of Instagram to the palm of your hand. Its intuitive design makes it the primary choice for millions of users worldwide. Let’s delve into the step-by-step process of viewing pending follow requests using the app.
Step 1: Open the Instagram App
Begin by locating and tapping the Instagram icon on your mobile device, which usually has a camera icon in gradient colours.
Step 2: Navigate to Your Profile
Within the app, your digital space is represented by a profile icon at your screen’s bottom right corner. This icon resembles the outline of a person. Tap on it to proceed.
Step 3: Access the Follow Requests
Your profile page provides various functionalities. One of them is the three-line menu icon, often termed the hamburger menu, located in the top right. Tapping on this reveals a dropdown. From the options, select “Settings”, then navigate to “Privacy”, and finally, you will find “Follow Requests”.
Using the Instagram.com Website Method
While mobile reigns supreme for many, the traditional desktop view offers a sense of familiarity and can be preferable for tasks that require more in-depth management. Here’s how you can navigate the Instagram website to manage your follow requests.
Step 1: Open Your Web Browser
Launch your favourite web browser, be it Chrome, Firefox, Safari, or any other, and in the address bar, type in “www.instagram.com” and hit Enter.
Step 2: Log in to Your Account
Towards the centre of the page, you’ll find fields prompting you for your username and password. If your credentials are saved, you might need to click “Log In”.
Step 3: Access Your Profile
Once inside, your digital den in the Instagram world is represented by a small profile icon, typically at the top right corner. Clicking this takes you to your profile.
Step 4: Check for Follow Requests
The elegance of the Instagram interface is in its simplicity. If there are pending follow requests, a notification icon will subtly appear next to your “Followers” tab. Simply click on “Followers”, and a list will unfold, allowing you to either accept or decline the requests.
Conclusion
In today’s digital age, the bridges we build online are as significant as those in the real world. Instagram, being a behemoth in the social media space, acts as one such bridge. Whether you’re an individual wishing to connect with old friends or a business aiming to grow its community, managing your connections is pivotal. With this guide, you can handle your follow requests seamlessly, regardless of the device you’re on.
FAQs
If you haven’t received new follow requests for a while, it might be because your profile is public, and users can follow you directly without sending a request. Alternatively, it’s also possible that there simply haven’t been any new requests lately.
To make your profile private, navigate to “Settings”, then “Privacy”, and toggle on the “Private Account” option. This ensures that any new followers will have to send a request first.
Yes, Instagram has set limits to prevent spammy behaviour. If you send too many requests in a short span, Instagram might temporarily block this action.
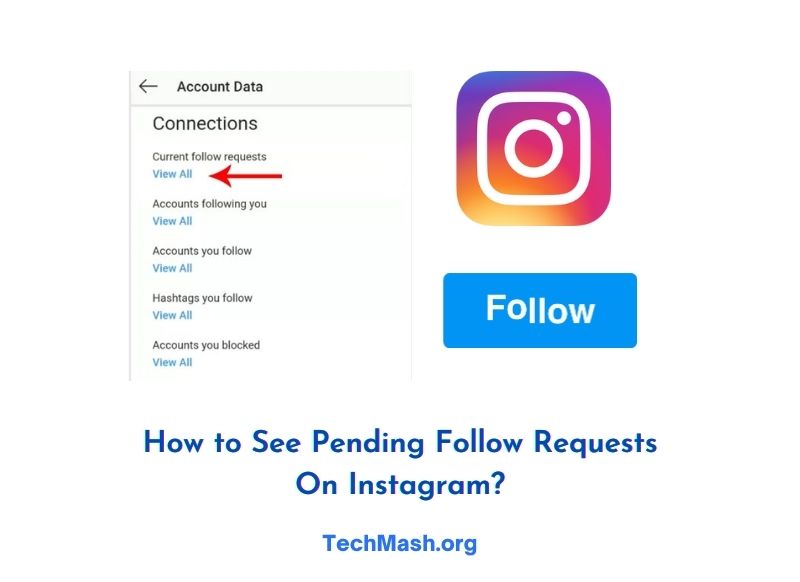
Absolutely! You can view the list of pending follow requests you’ve sent out by navigating to “Settings”, then “Security”, and finally “Access Data”. Under the “Connections” section, you can find “Current follow requests”.
A declined request could be due to various reasons: the user might not recognize your profile, they may want to keep their posts private, or it could have been an accidental decline. It’s best not to take it personally!
